Tamiya 1/35th SAS Jeep

Tamiya 1/35th SAS Jeep

Thursday 16 February 2017

BMW R75 finished

So finally got to finish off this little project - quite pleased with the finished piece
- especially the guy with the glasses!

In retrospect the addition of the photo-etch pieces can't really be appreciated on the bike -but I know they are there.


The fence was a late addition to fill a dead space in the corner - just a match and thin wire.


The base is a cheap box frame painted in a neutral colour.


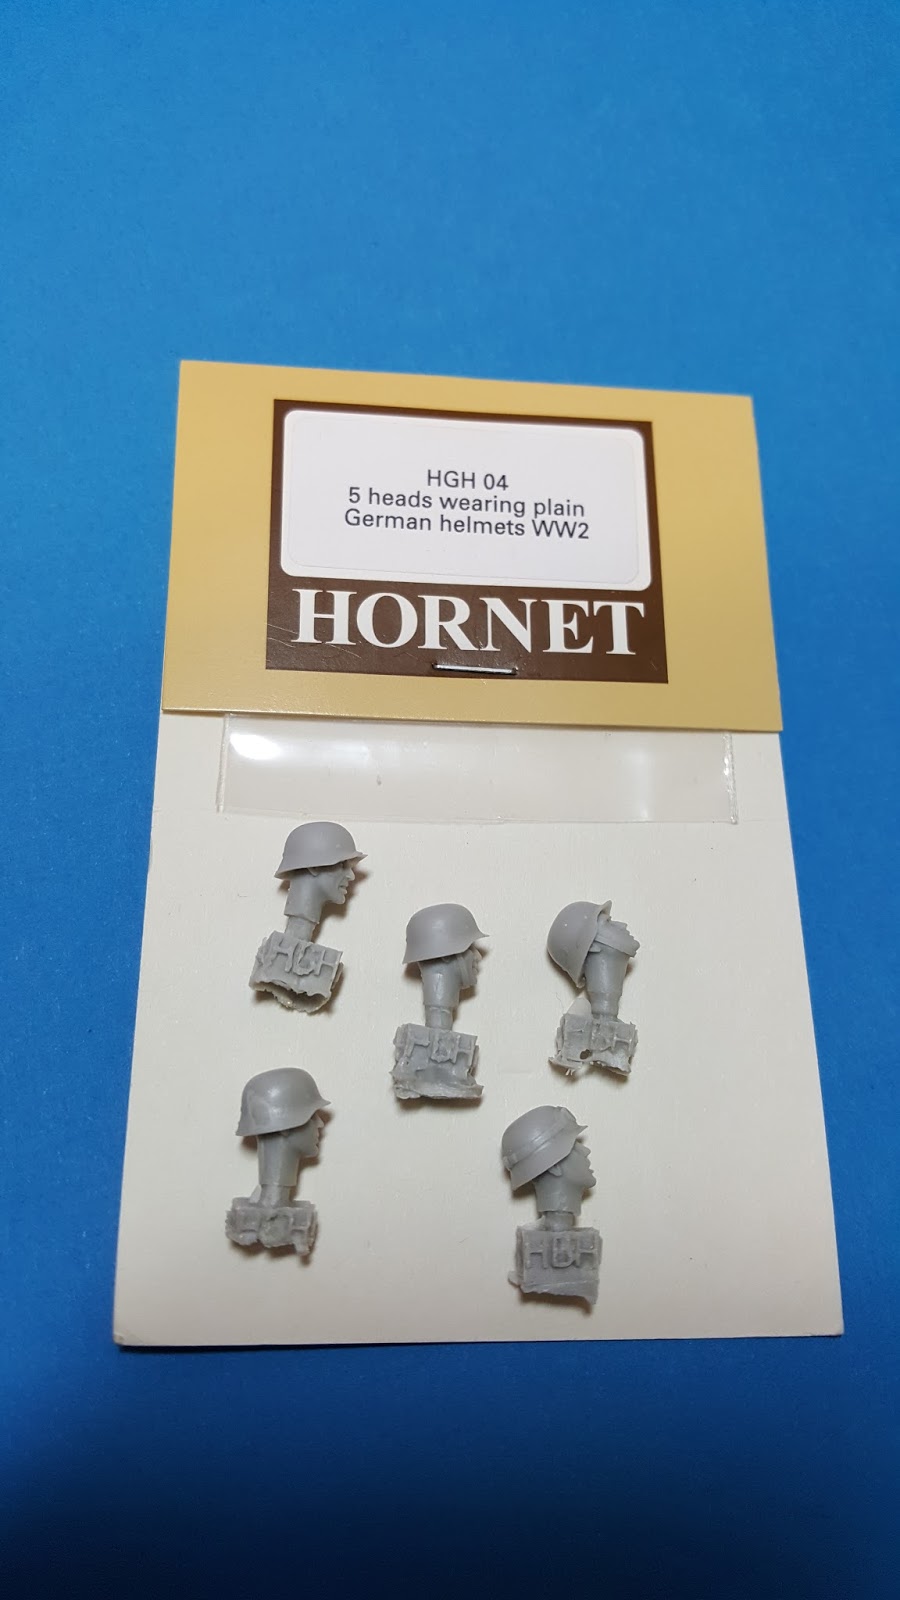
I think the addition of the hornet heads really lifts this ancient kit and is well worth the extra cost. The detail is sublime and simply cannot be beaten by plastic ones! I think I will do this to all my kits in future.


The groundwork is simply a piece of polystyrene textured with earth and static grass.


Some foliage was made for added interest and to break up the look groundwork.


As is usual for me I didn't bother with any weathering - preferring a new or restored look to the model. I don't think heavy weathering is always appropriate - however if you like to do it that way - it is your model after all.


So another little project finished and thoughts turn to 'what's next?'


Stay tuned.....


Saturday 11 February 2017

Back in the day...

 Back in the day before resin add-ons, photo-etched brass, pigments and all the other 'essential' model must haves we have today - things were simpler. just plasticard, stretched sprue and humbrol enamel paint were the modellers best friends. No endless how to manuals or websites or you tube videos on weathering techniques - just a few sketchy photos and the will, skill and determination to produce create something we could be proud of. So I present to you a few photos from my archive - many of these models have succumb to the ravages of time and no longer exist so these are the only record of the time and effort I put in over the years in a hobby I still enjoy today!


No such company as AFV Club then - scratchbuild Scorpion using M113 wheels and tracks!


Original release Tamiya Stug III - out of the box - no frills.


Again out of the box Tamiya Type 74 - with articulated suspension and baking powder snow!


Out of the box Tamiya SDKFZ 222...


...on a custom made frame.


Academy M48 - out of the box with a 'gasp' - resin figure from Verlinden.


Italeri SDKFZ 234 - with homemade accessories.


Building was custom-made too as I was too tight to spend money on a Verlinden version
- so I just copied it! - Rubble was cat litter.


Tamiya Sherman M4A3 - nothing fancy - out of the box


The 'height of fashion' at this point was 'pastel weathering'.


Now this Tamiya Chieftan was a bit special - it was treated to the 'on the mark' photo-etch set, but other than that it was a straight forward build.


I had just been on the Salilsbury Plain training grounds so this model reflected that visit.


Dragon MLRS - bored with all the first Gulf War coverage of the American use of the MLRS at the time - I opted for the British Version. Again photo-etch starting to appear now so I used the Airwaves set on this one.


Commander figure came from the first version of the Tamiya Challenger tank.


This was one of Dragon models first releases the BTR 70 - nothing fancy - out of the box with the same companies soviet motor rifle troops


This was built before anyone knew where Afghanistan was.


Hope you enjoyed a trip down memory lane - let me know what you think.

All the best - Simon Dean


BMW R75 Painting Begins

To start with everything is given an undercoat of black from a spray can -
Hycote matt black from 'The Range'....


...then colours are built up from dark shades to highlights using a sort of rudimentry zenithal highlight system (dark at the bottom light at the top!).


Same technique is used on the figures. I use Wargames Foundry 3 colour
(light, dark, shade) paints as it gives consistent colours plus the colours are really rich.
Just add a dab of Tamiya flat base otherwise they dry to a satin shade....


...again heads are airbrushed using 3 colours from the flesh range....


...as they dry I will make the base and case!.


Thursday 9 February 2017

BMW R75 continues

Construction is nearing completion. I decided to enhance the poor detail of some items with the ICM german equipment set.

After all the effort of adding photoetch - most of it is difficult to see once
the sidecar is added.


The photo-etch on the R75 was fiddly at best and I broke most of it
at one stage or another off during construction.


Hornet heads improve the figures no end.


I glued the figures to temporary bases for painting.


This one will go onto a small base.


Sunday 5 February 2017

Tamiya BMW R75

Next project will be the Tamiya BMW R75 utilising the Eduard etch set for the BMW. 


I'll also be using using Hornet german heads.


So to start with the easiest parts the wheels...


...and some progress on the main frame.